| HOME | TIMELESS MODELS COLLECTION | WHERE TO BUY | COTTAGE GALLERY COTTAGE BUILDING & PAINTING GUIDE RUINED COTTAGE CONTACT US |
| Precision Model Designs |
 |

A closer look at the...
RUINED EUROPEAN VILLAGE SET
****************************************************************************************
We felt this set deserves a closer look. The level of detail in this set is quite remarkable, so let's dive into the Ruined European Village set...
****************************************************************************************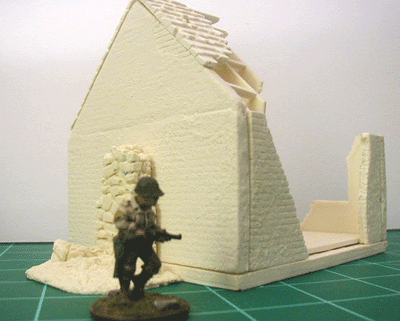 We featured this building in our assembly area. Now I would like to dive into it a bit further with a closer look. This model was cleaned minimally. The edges went together well. The corners' connection points can be easily hidden by adding Joint Compound to them to fill the gaps which was done on some of the other buildings from this kit. |
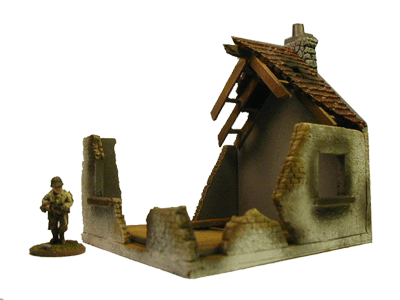 Here is the model painted, which was a joy! Simply the model was primed black first. A gray was misted on after the black was completely dry. Then I used a thinned down dark brown (use Bright floor cleaner which you can see in the tree assembly area to 1 part paint and it makes a great stain). Then I dry brushed a lighter brown and dabbed an off-white on the model, painted the floors with a dark brown stain and some minor detail, and you see the results. |
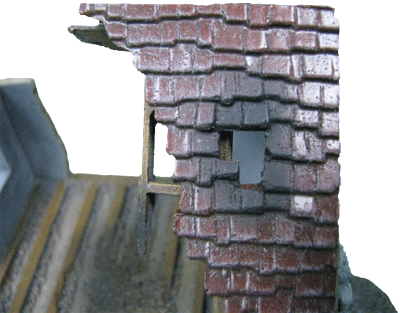 The shingle roof top has missing shingles so you can see the rafters underneath them which is very nice. You could even cut away more if you wish to expose even more of the rafters... |
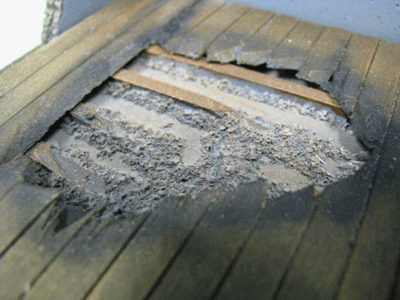 I really like the floors! The floor joist (wooden support beams under the floor) is great. I love seeing the damaged sub flooring under the wooden floor and... |
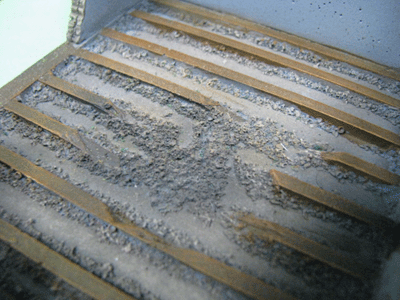 The floor lifts out so you can even make your own damaged floor with floor boards sticking up and out to show extreme damage (Think I will do that on my next run with this set :) |
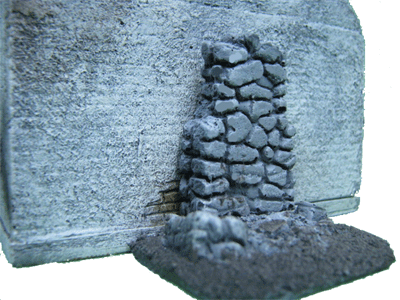 The ruined stone is included as well as a complete stone chimney with fireplace inserts so you can add a fireplace and chimney to any building you would like. The ruined stone chimney is detailed on all sides so it can be freestanding or on lower walls for destroyed buildings! |
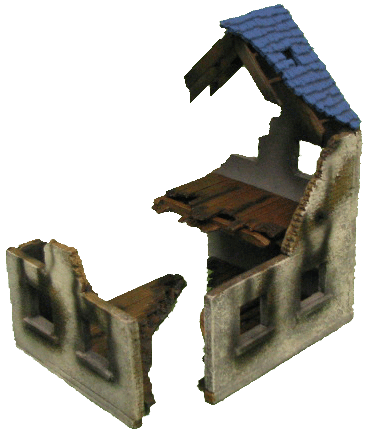 This building used 2 of the floor sections. The floor sections like the one pictured can be butted up together to make an enclosed building because it is a perfect fit by the way... |
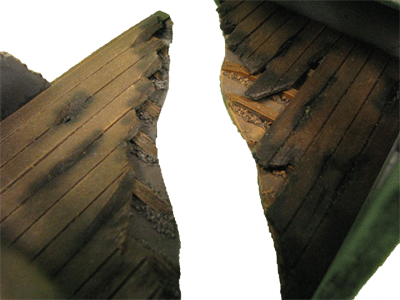 You can really see it here, but it was designed to show a missing part of a building. You could add rubble and boards in this section to show the destroyed remains of these buildings (yet another idea I will play around within my next run with this kit :)) The floor joist even has the packed earth around them and adds again to the detail of the kit... |
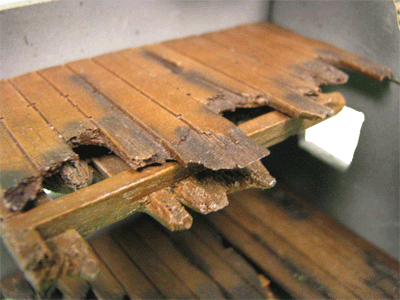 The second story floor board and sub flooring is detailed very nicely with broken sections and beams sticking out and such. I added burn marks on the boards to show where a fire had been once. |
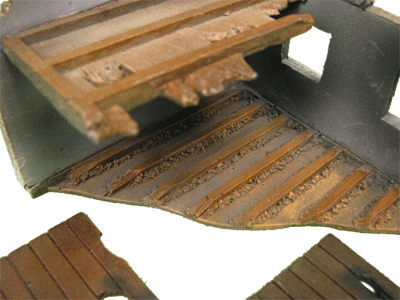 Even this part of the model is detailed so you can build a floor or leave it off to show it has been destroyed - nice detail! |
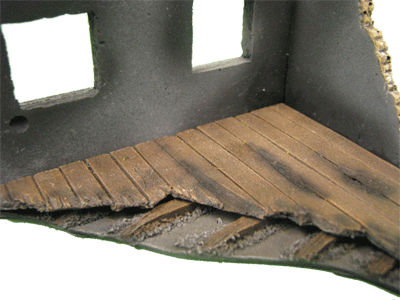 The floor section was designed to sit back a bit from the sub flooring to show some of the sub flooring for added character... |
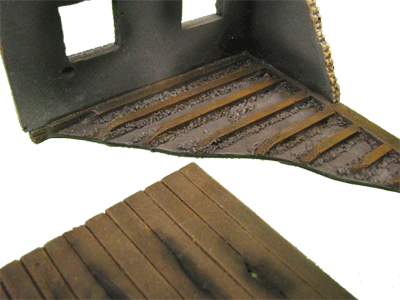 But the detail goes all through the model. |
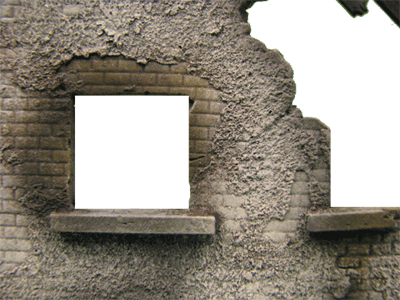 The stucco covered brick walls are amazing, showing damage with missing sections of stucco patch missing. Really enjoyed painting this, planing to add some shutters for further detail to these windows. |
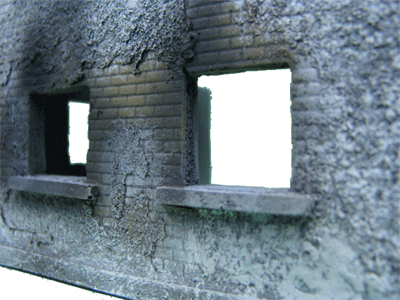 Yet another wall section with detail. Most of the walls are different. Even the walls that are similar in shape have the patch work different on the walls just for further added detail! |
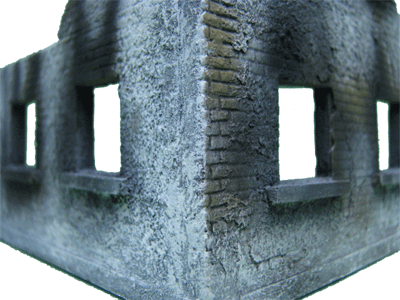 The brick work is beautiful and etched in deeper for better staining. The corner here had Stucco patch to cover the small joining area here. |
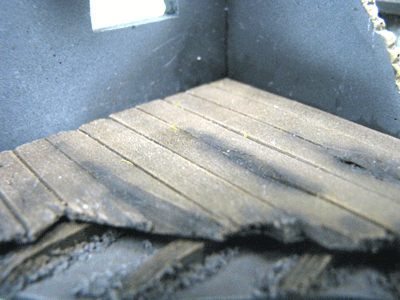 Those boards look very real! |
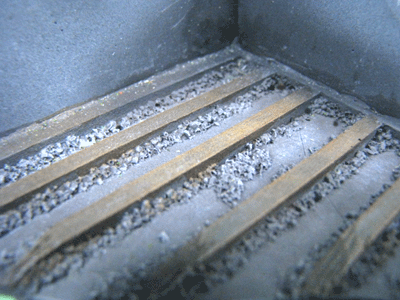 Love the detail... |
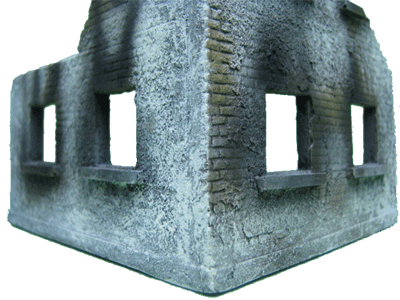 The wall on the building base "mud seal" which is the board the walls are attached to fit quite snug. |
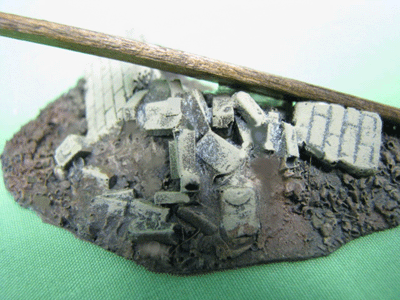 Here is a close up of the rubble pile. Included in the set, 14 of these with boards to be added like you see above for realism. The rubble piles were painted like the buildings but the boards were simply stained with "Old English" which is a furniture repair item sold in most Wal-Mart stores. |