| HOME | TIMELESS MODELS COLLECTION | WHERE TO BUY | COTTAGE GALLERY COTTAGE BUILDING & PAINTING GUIDE RUINED COTTAGE CONTACT US |
| Precision Model Designs |
 |
ASSEMBLY OF THE "NEW" COTTAGE
****************************************************************************************
Read the entire assembly section and acquire the tools you need before you begin. If you are a child please seek help from an adult before you try this.
This is a collection of assembly instructions. You will find instructions for various cottage kits below, and that is because they are very similar, so just apply the
instruction
to the cottage you are assembling; for example, painting the cottage we
used the Village Cottage C, but the same principles for painting can be
applied to all the cottage kits.
These are only suggestions. If you wish to try something different, by all means please do.
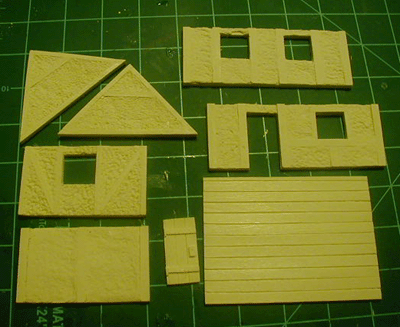 Here are the cottage pieces which have been cleaned and trimmed, remember to always to a "dry fit forst" forst before gluing any parts. |
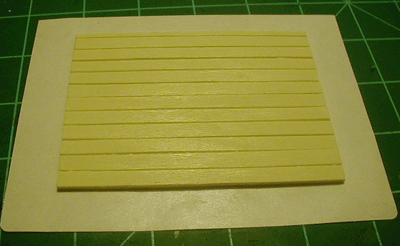 Here we placed the floor on a piece of one sided sticky paper, this way we can add the walls to make sure they are in place before gluing... |
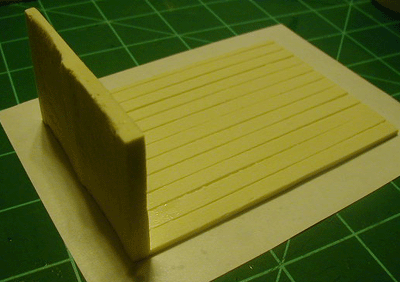 Start with the side wall first, make sure it is even with the floor BEFORE gluing into place... |
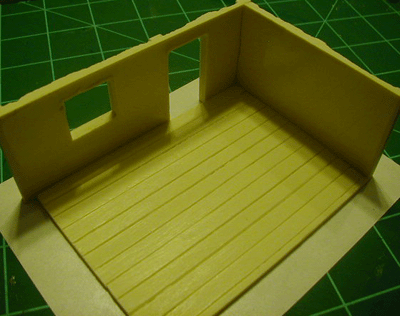 Glue into place then add the front wall the same way, there should be even open area on both sides for the wall to fit right into... |
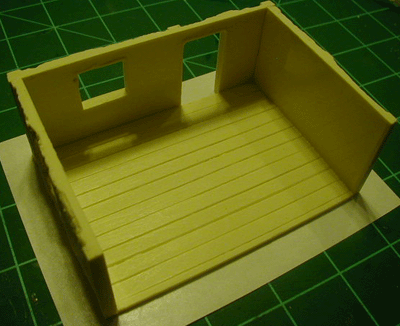 Continue until all the walls are added... |
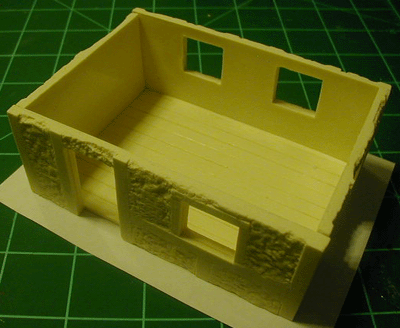 once complete the walls should be even, if the walls on the top of the building are not flush, make sure it is completely dry, peel away the paper on the base and and turn up side down and lightly sand until it is completely flush (all walls and remember when sanding resin always wear a dust mask ) |
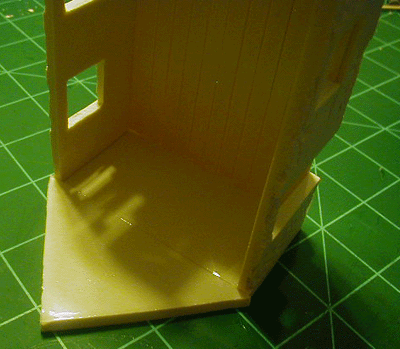 Adding the gables, we turned ours on its side so the walls are flush with each other, run a bead of glue and hold into place until dry (we an execelerator to speed the process) |
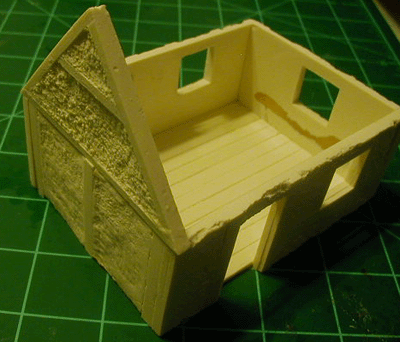 Now that it is dry do the same to the other side... |
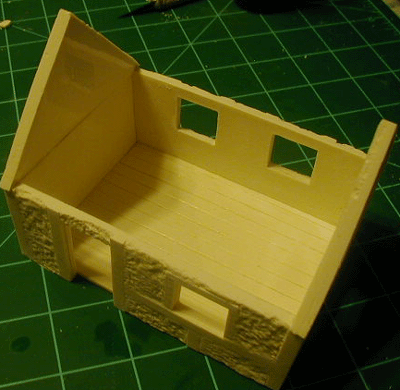 Let them completely dry... |
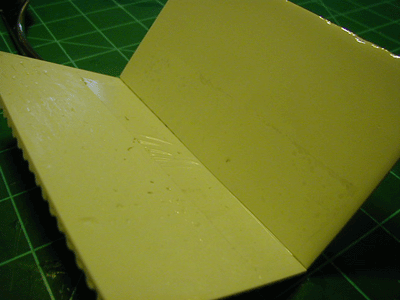 Ading the roof, we cut a piece of sealer tape on one side and placed on top of the gable and bent it and placed the other roof section on it and folded them and pressed... |
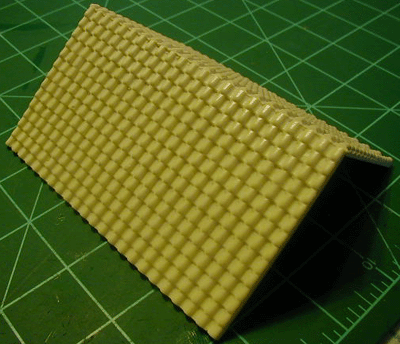 place it back on the gables and run a bead of glue into the seam (the tape shold span the entire roof section so no glue will go onto the house. |
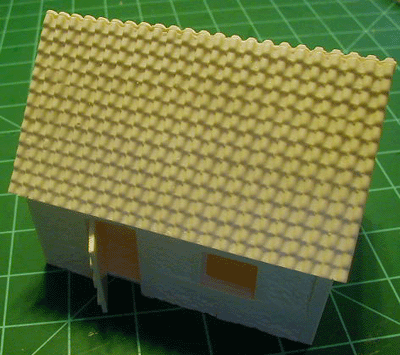 Add the door and shutters if you wish and you are finished! |
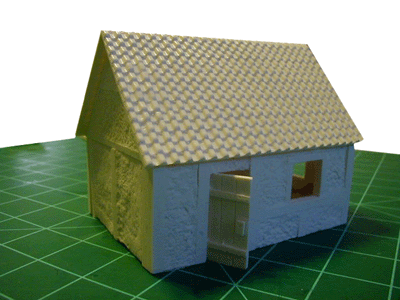 These models are very quick to build... |
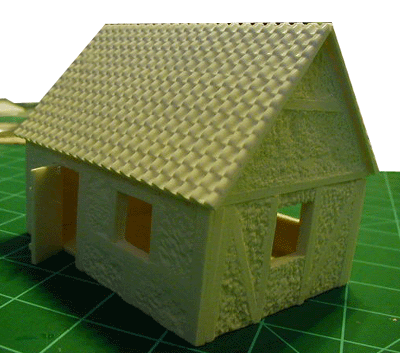 Comming soon painting the Village house! |