| HOME | TIMELESS MODELS COLLECTION | WHERE TO BUY | COTTAGE GALLERY COTTAGE BUILDING & PAINTING GUIDE RUINED COTTAGE CONTACT US |
| Precision Model Designs, LLC |
 |
| TIPS FOR A RUINED COTTAGE **************************************************************************************** Read the entire assembly section and acquire the tools you need before you begin. If you are a child please seek help from an adult before you try this. It is highly suggested that you read the COTTAGE ASSEMBLY sections prior to trying this one, as a lot of those tips are used here. **************************************************************************************** |
|
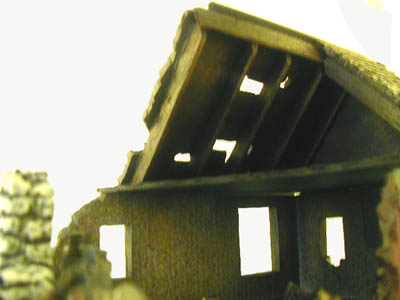
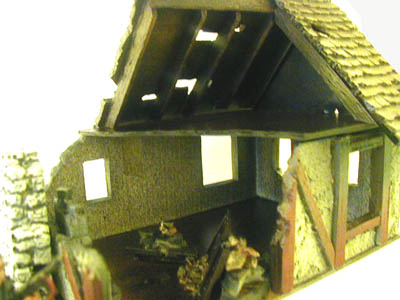
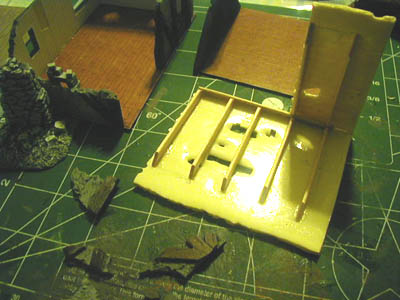 Here are just some tips for making a ruined or bombed out cottage. Once the roof was assembled, I used some of our beams to make the frame of the roof. I measured the distance from the top of the the inside of the roof to the point where the beams would rest on the attic floor of the roof. Then I cut the beams at a slant so they would rest on the attic floor. |
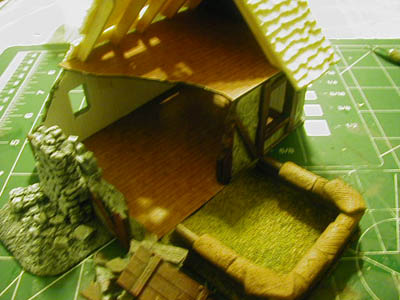
 They don't have to be perfect, but it adds to the model a lot. Note how some of the shingles were cut away to look as though they were blown off. |
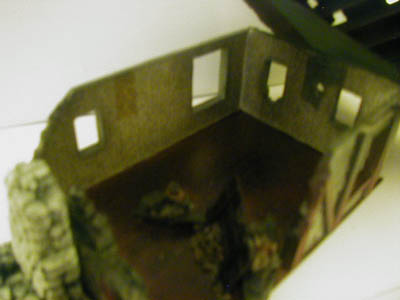
 The walls were cut away by using a pair of heavy wire snips. Do a little at a time as larger chunks can get away from you. Once you have your desired look, use a hobby knife to further chip away the edges so they don't look like clean cut aways. Then just assemble the cottage as you would normally. |
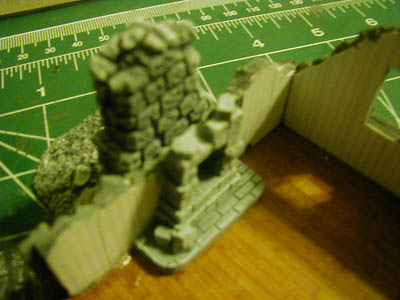 The Chimney we used here is a piece that comes already ruined. Simply make it match the fire place in the cottage. Note: the walls were built and painted as in the cottage assembly sections of this site. |
 Once again, the cottage was painted as per the cottage assembly section of this site, but it was misted with a black spray to give it a burnt look. |
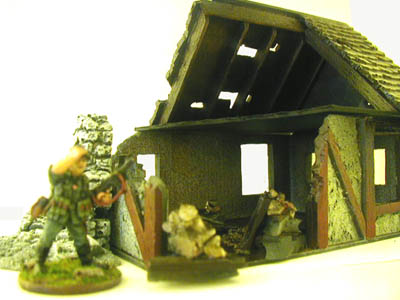
 The cut away sections were kept and chipped away and then painted and glued into piles with bits of rock for the rubble piles. If you are going to be using these models for table-top gaming, remember to keep it playable. There would be a lot more rubble in reality, but then the models would not have much room to be placed. So the lesson here is playable first, realistic second. If, on the other hand, these models will be part of a diorama, you can add as much rubble as you wish to give it a realistic feel. |
 The roof can be removed for game play... |
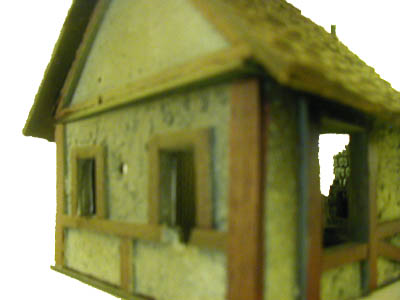 Outside of the cottage. |
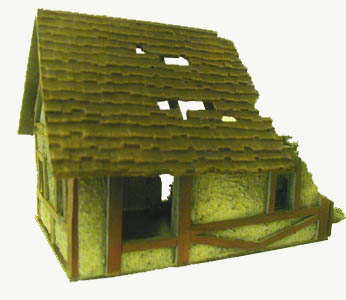 Note the shingles that were cut away. |
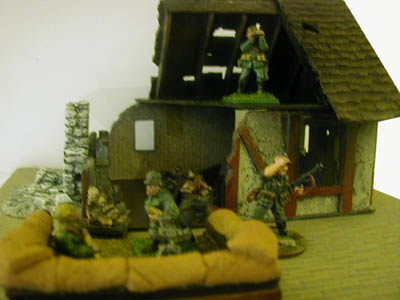
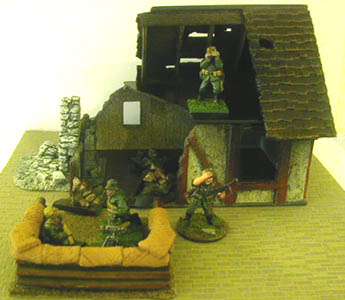 Here we added a Mortar Pit in front of the ruined cottage. The cottage acts as a command post for the mortar position. |
 Destroyed! |
 The model was added to a building base. Later we will be adding more to this base, but one thing at a time! Hope this was useful! |