| HOME | TIMELESS MODELS COLLECTION | WHERE TO BUY | FACTORY GALLERY FACTORY PAINTING GUIDE FACTORY ASSEMBLY CONTACT US |
| Precision Model Designs, LLC |
 |

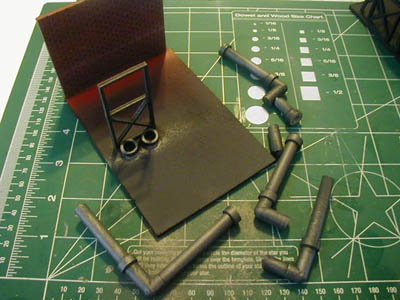
| ASSEMBLY OF THE PIPES & GANTRIES SET **************************************************************************************** Read this entirely before attempting construction. **************************************************************************************** |
|
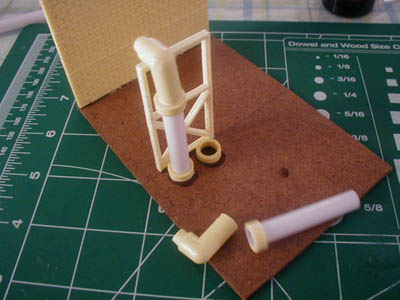
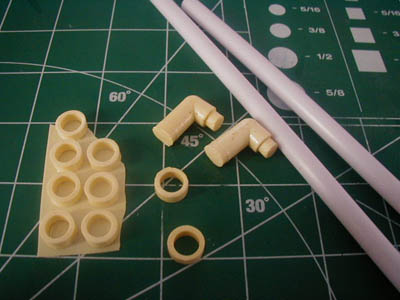 Clean your items before construction, the coupling pieces will be a thin sheet, simply sand it off or score with a hobby blade and push out. |
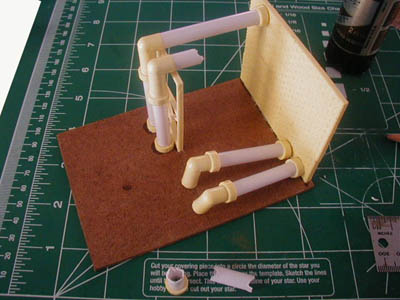
 Here we pipes to go into the wall of the factory, so we glued a blank wall from the factory set to a base section with the intention that it can just be placed against a blank wall or opening to add this section. |
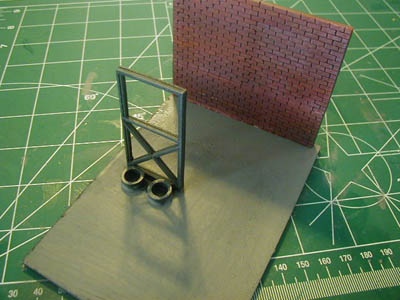
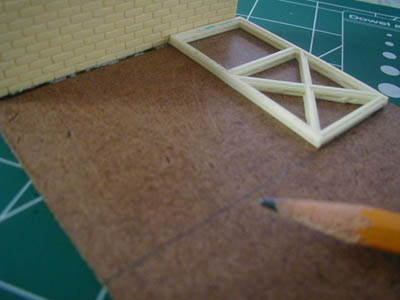 Next we measured the area off so we can glue the bracket into place straight... |
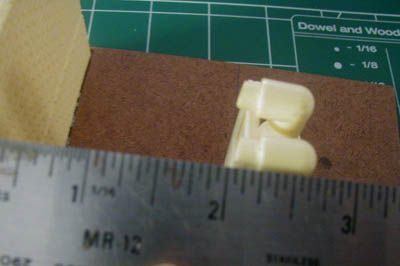
 After the coupling pieces are cleaned... |
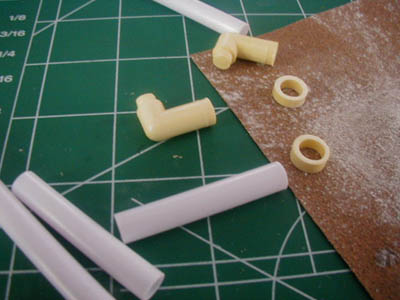
 add them to the base after the bracket is glued into place, then we glue couplings into place. Do a dry run first to get a feel of where you want this to go. |
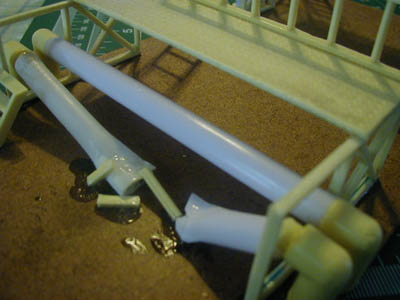
 Next we measure off how high the pipe should be to clear the gantry bracket, The coupling is glued to the bottom of the pipe elbow... |
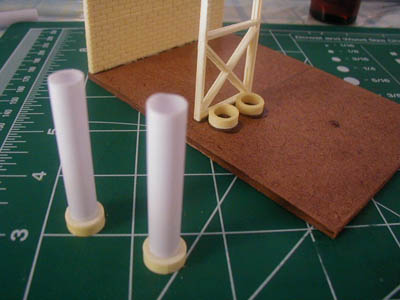
 Next place the pipe into the couplings on the base, do not glue into place yet. Measure the distance from the pipe elbow's mount area not the mounting plug... |
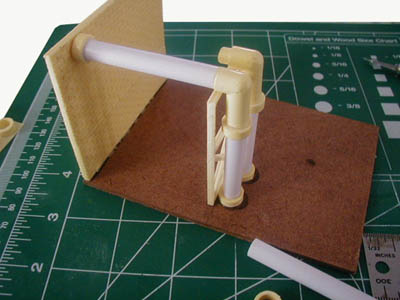 Cut the pipe to fit and add the coupling... |
 On the second we made a damaged one as seen here simply by repeating the steps but adding a broken section... |
 We made 2 lower pipes sections and once again did not glue them into place yet. we also kept 2 damaged pipe sections (one for the ground and one for the wall) |
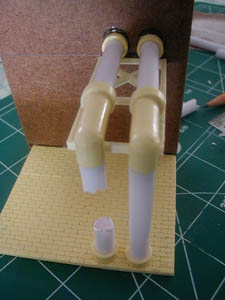
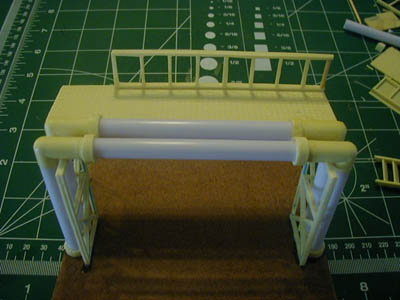
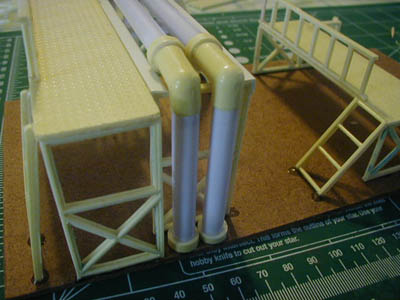
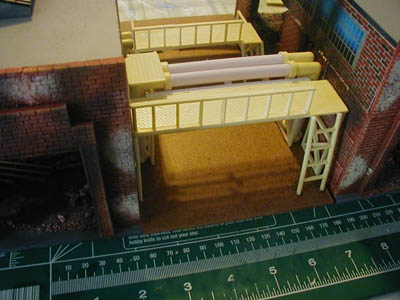
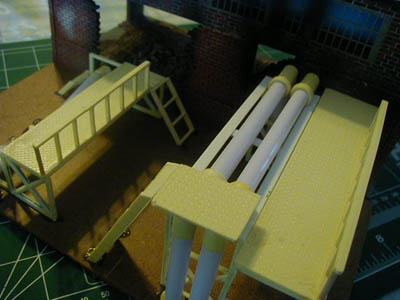
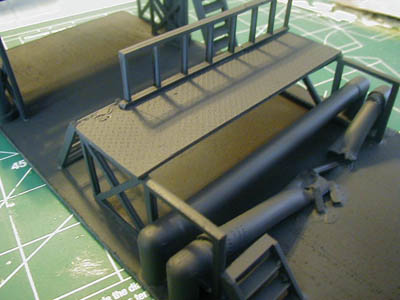
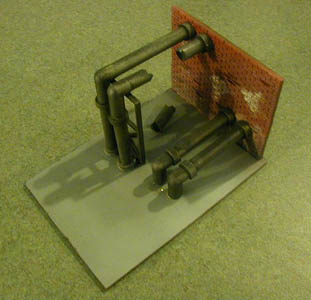
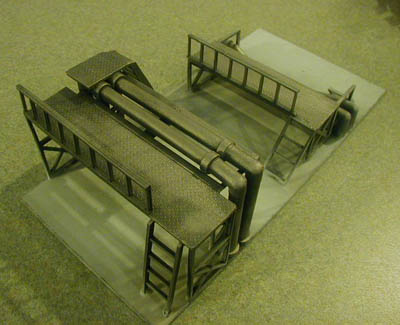
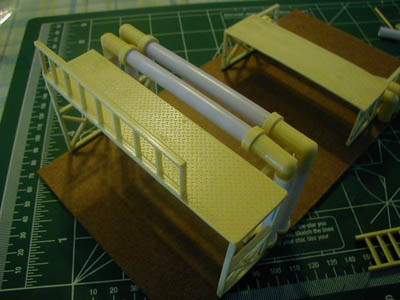 Here is a larger pipe and gantry sectioned assembled much the same way as the smaller section. |
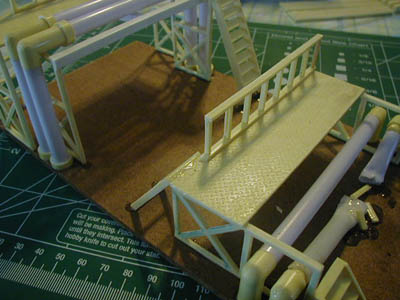
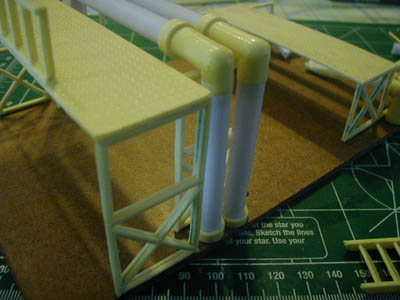 The pipes were made into a "U" shape which rose out of the ground and up and back down into the ground... |
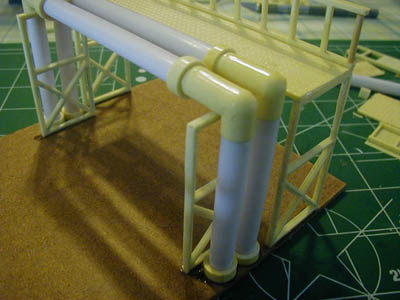 The gantry brackets were mounted on the inside of the coupling sections and then the pipes were added the same as above. |
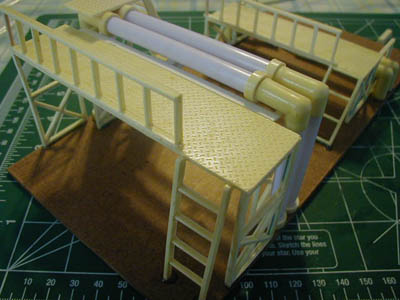
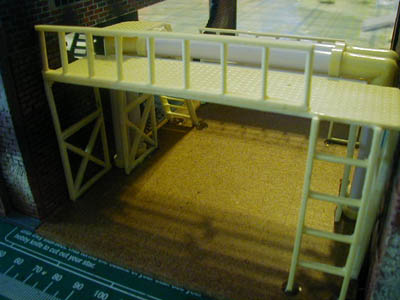
 Here it is almost complete, adding the catwalk and guard rail (same as the factory catwalk section. |
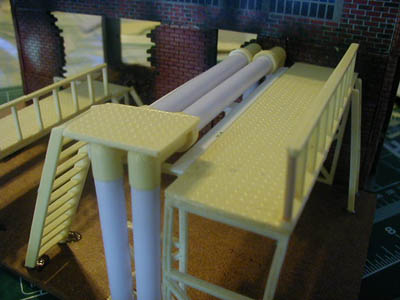
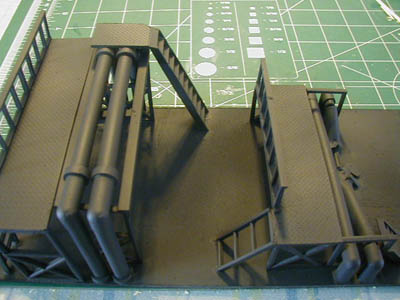
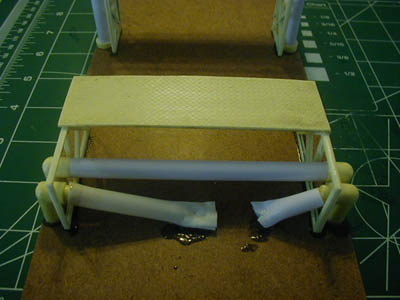 Another lower pipe section is added and a lower catwalk and guard rail. |
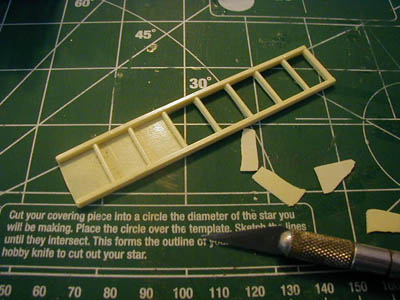 Once again scoring the thin sheet inside the rail, carefully and popping them out (carefully so you don't break the rail itself) |
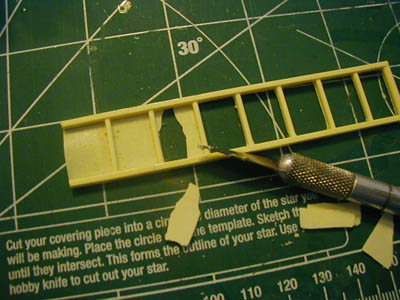 Here is one being done. |
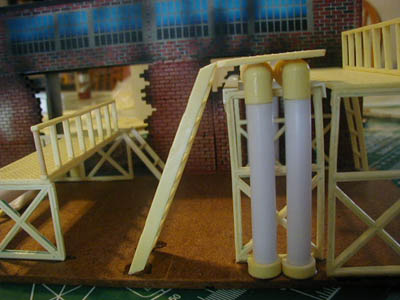
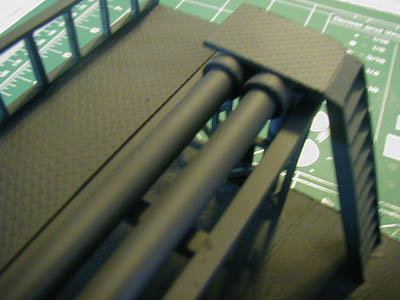
 Stairs and ladders are added where you would like... |
 Such as seen here... |
 And here... |
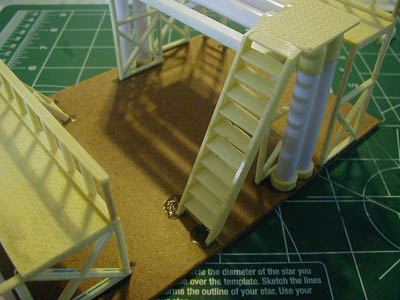 We cut a piece of the catwalk and mounted on to the top of the pipe section and then added the stairs. |
 Here is a damaged section we created... |
 This is one of the many places it can be added to the factory. |
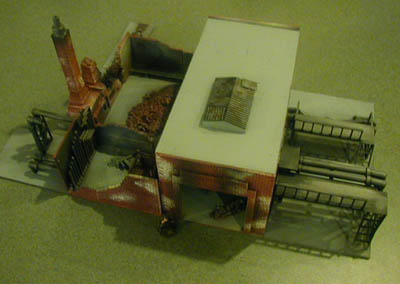
 A rear shot of the Pip`es and Gantries section |
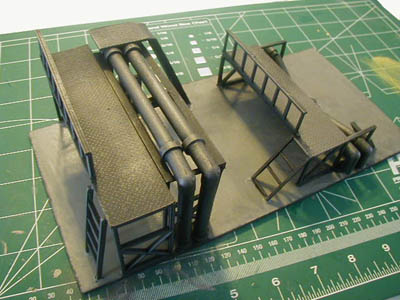
 More pictures of the newly created section... |
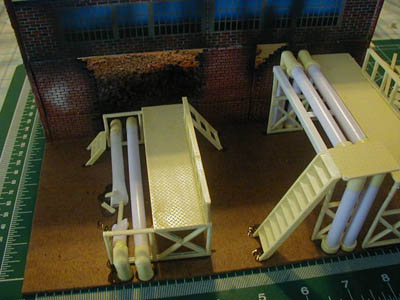 and here... |
 and here... |
 and here... |
 and here... |
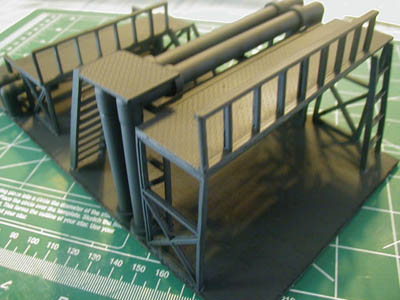 The section primed and ready for dry brushing. |
 Be sure to make sure you spray it throughly as there are many nooks and cracks to get! |
 Very clean model! |
 This is going to be a fun piece to play around! |
 Now for the dry brushing... |
 And lets not forget about this piece... then (as in the Factory Painting Guide) we paint the blank wall and dry brushed the pipes with silver. |
 Here it is with the wall painted and the base also painted a gray, we used a house flat paint we acquired at a home improvement store for about $10.00 and less if you find on on their discount shelf. it is a good idea to do this if you are planning to add to your factory. |
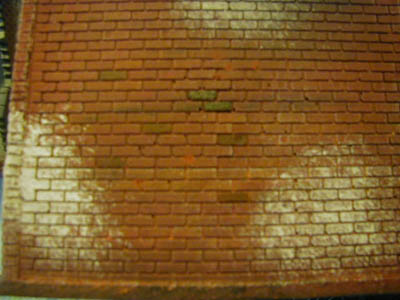 Note: the single bricks painted a dark brown or black stain, really adds character and does not take much time at all! |
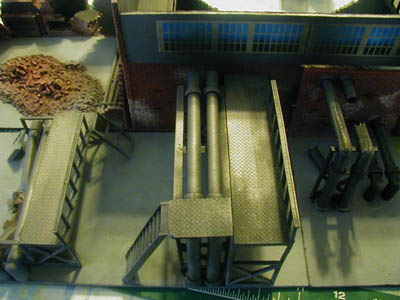
 Now the pipes are glued into place ans it is done, just mist it as in the Factory Painting Guide with gray spray for that fine layer of dust. |
 The same has been doe with the larger section and here is it. |
 Here it is added to the side of the factory set. |
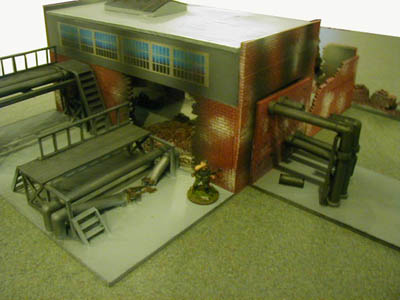 Here is the larger section added to the side and the smaller covering the real opening of the factory to add yet another Pipe & Gantry section! |
 Here it is with the Factory Warehouse Furnace building set. |